
Time needed: 5 minutes.
In this simple guide, you’ll learn how to insert a memory card into a digital frame the right way. We teach you about compatibility and features related to using SD cards. You’ll also find practical steps on how to start slideshows or copy all the files across to your Pix-Star frame’s internal storage.
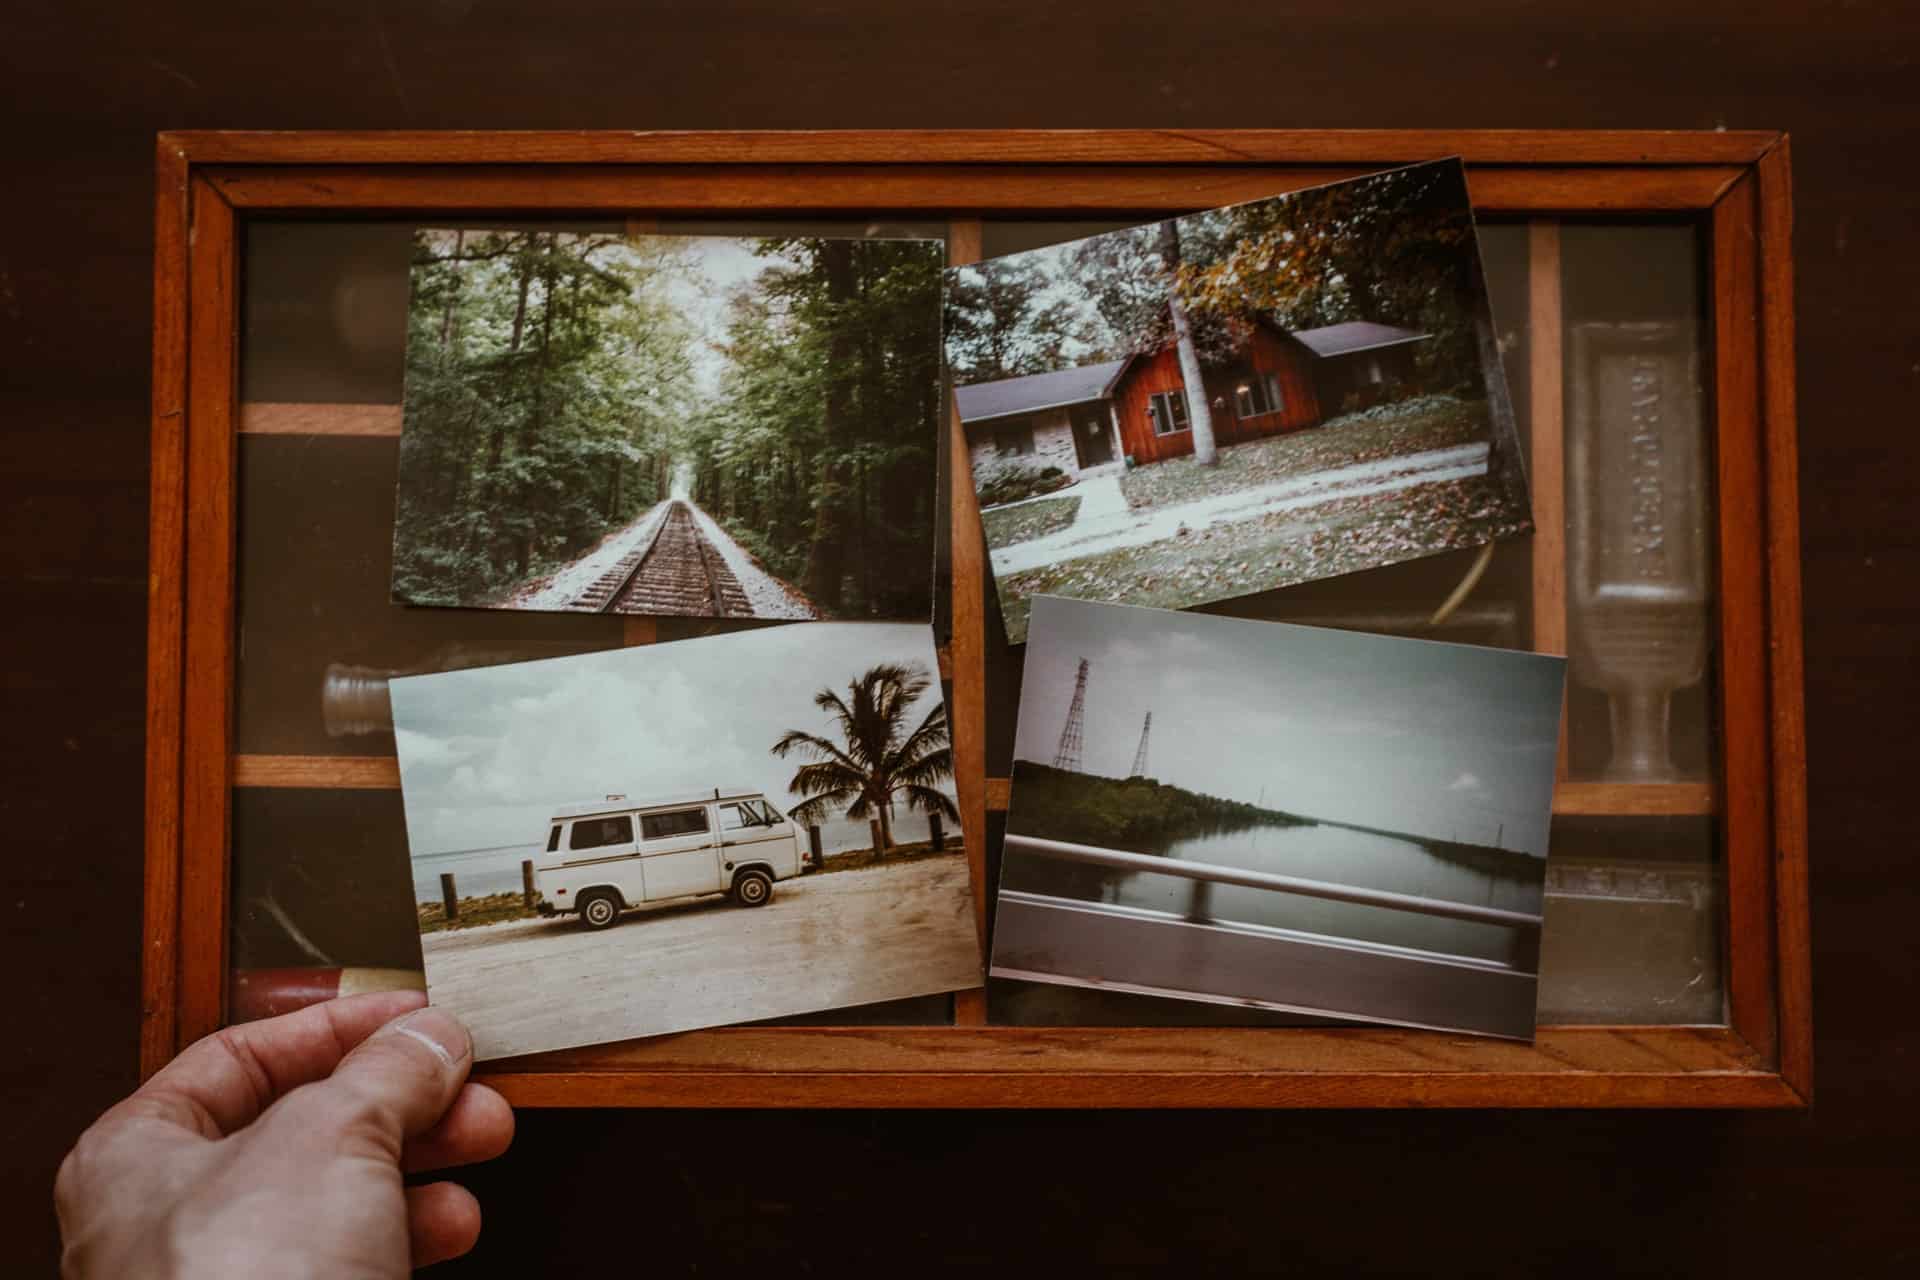
By the time we’re done here, you’ll be able to send photos, videos, and audio messages to your Pix-Star frame using only an SD card. It’s quick, effortless, and doesn’t require any internet connection. SD cards are great for leaving inserted in the frame as they’re hardly noticeable – and they’re excellent for increasing the storage space of your Pix-Star frame.
With a supported SD card ready and your frame powered on, let’s jump into the guide!
- Make sure the memory card is compatible
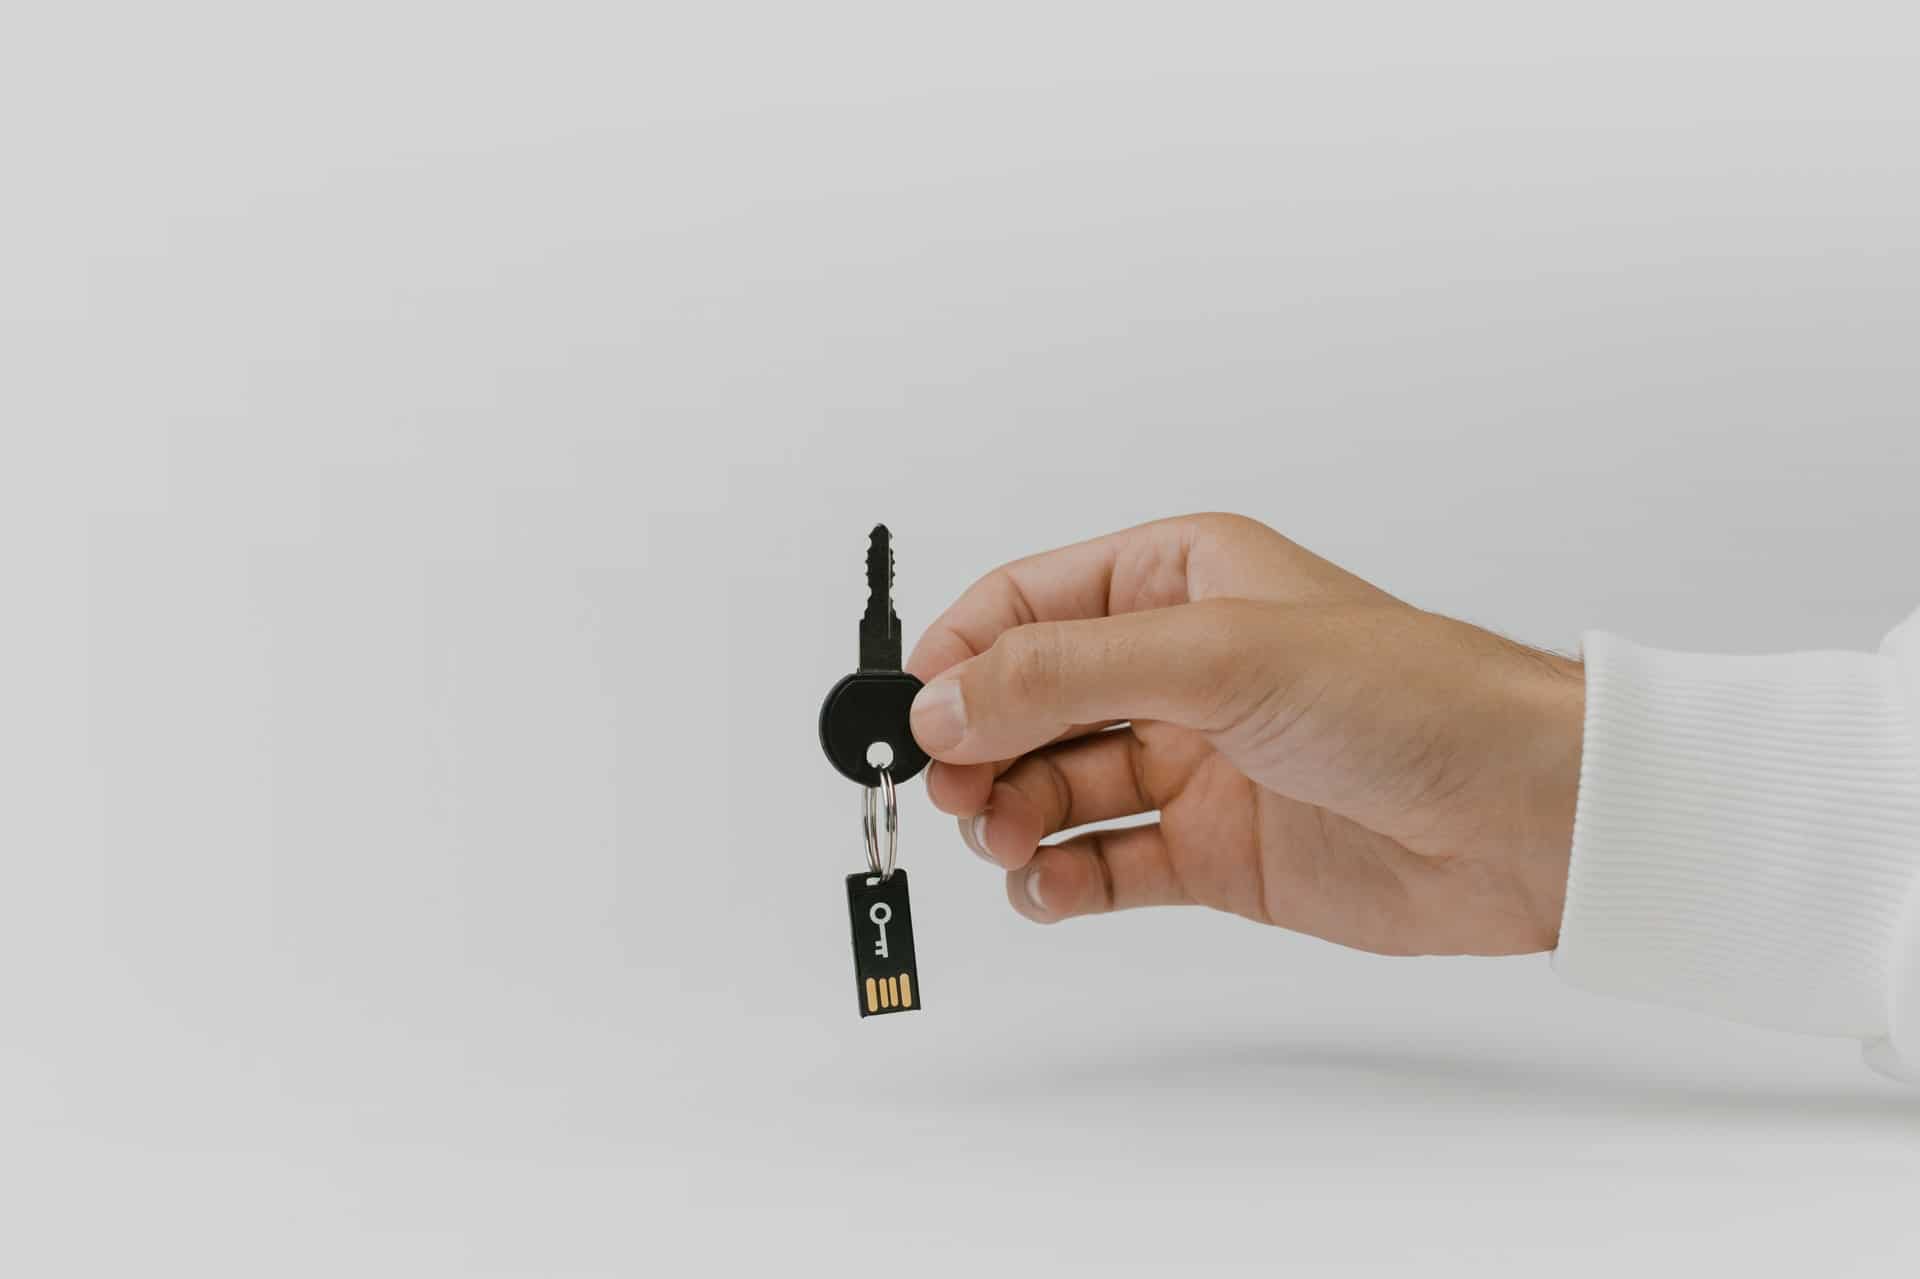

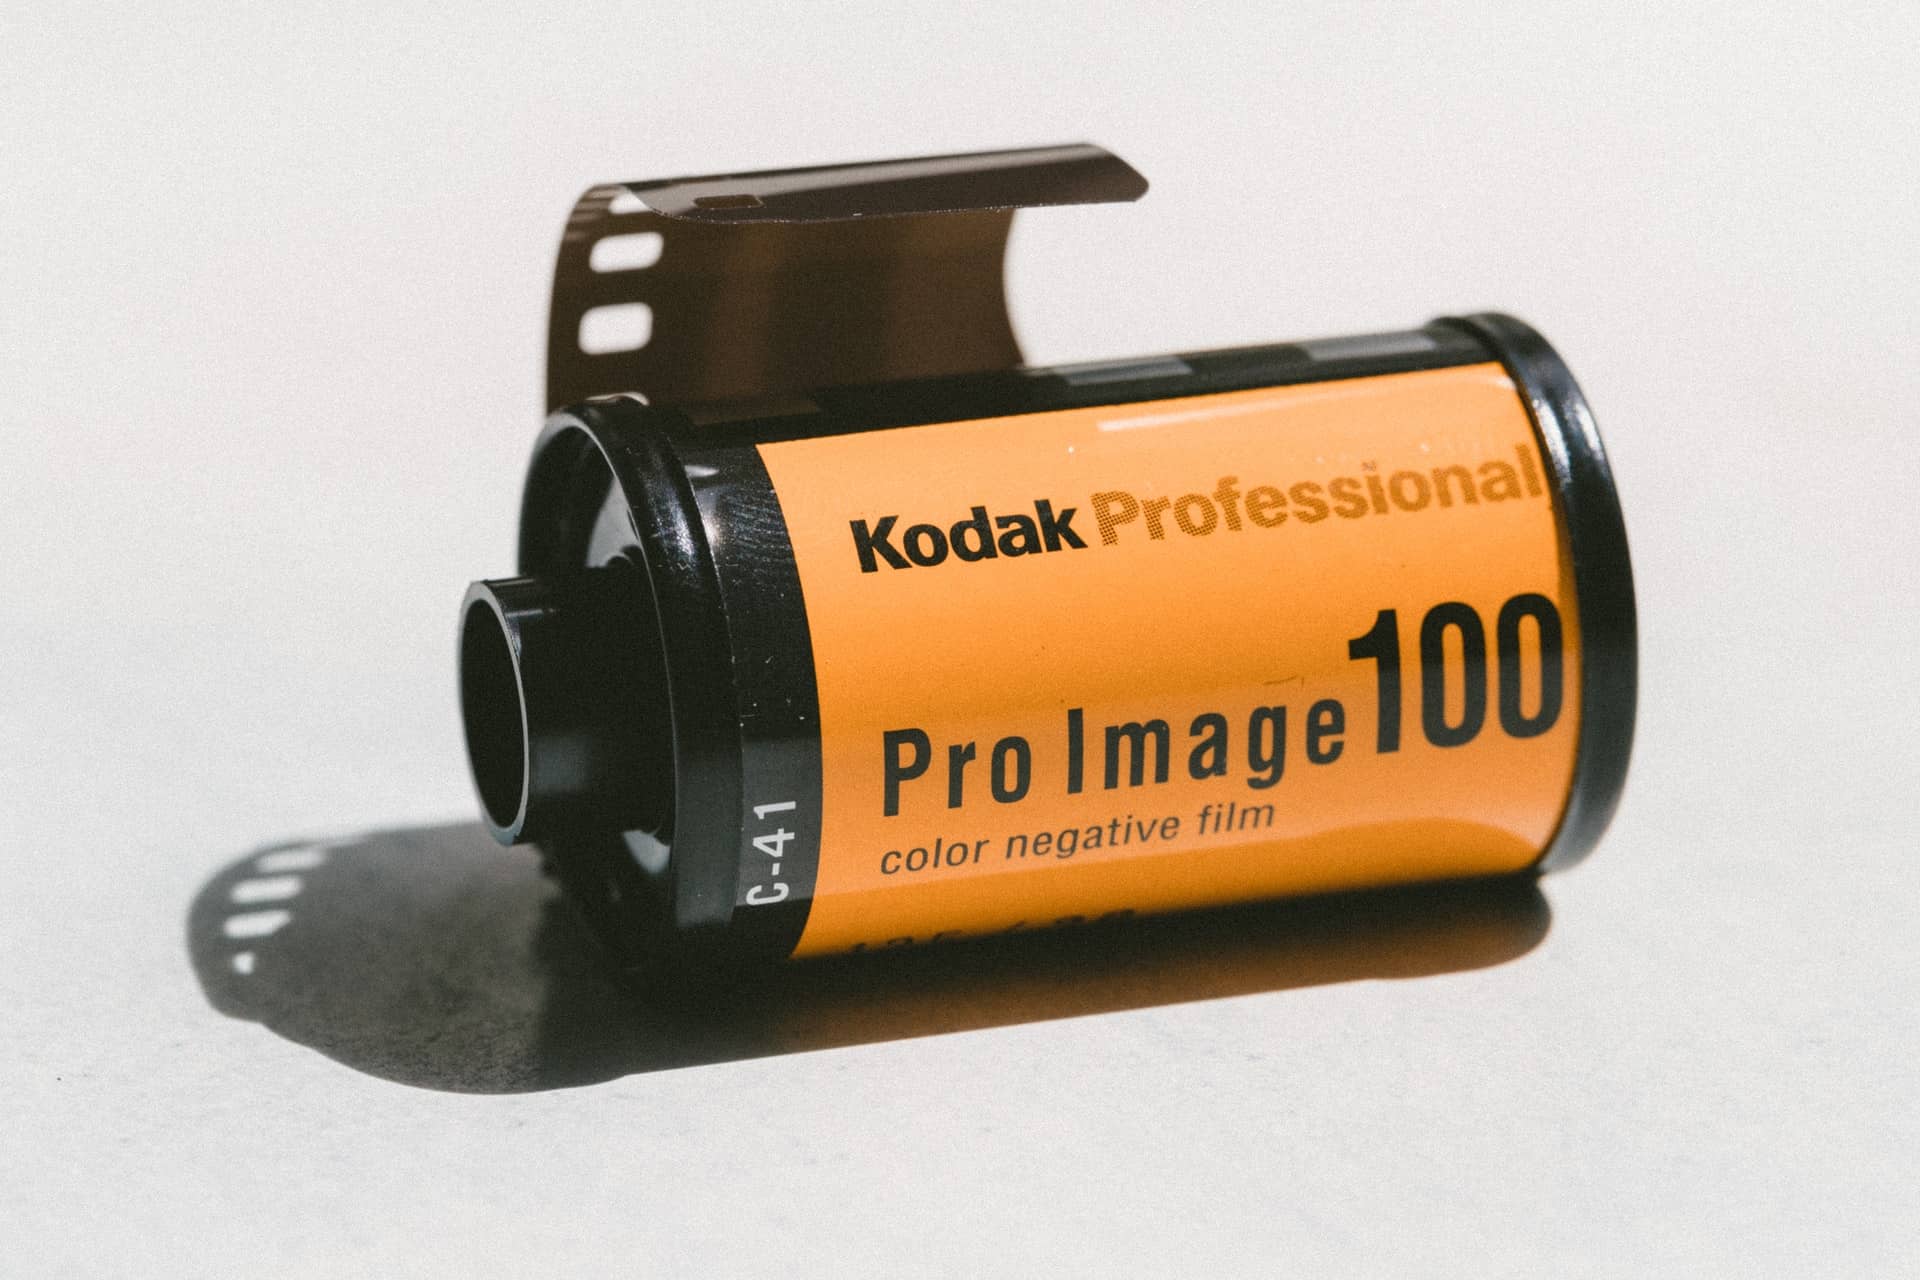
The first step in learning how to insert a memory card into a digital frame is checking compatibility. Pix-Star’s frames are very versatile and support SD, SDHC, and SDXC cards. Note that the memory card needs to be the standard size, not a micro-SD.
In terms of size support, Pix-Star’s frames don’t have any limits on the size of the memory card’s storage and can support any size. Most memory cards fall into the under 64GB size range, but you can easily go for larger sizes. It’s a great way to expand your frame’s storage and hold tons of photos for quick and easy access. - Check your photo, video, and audio formats
Pix-Star’s digital photo frames have excellent file compatibility and format support. That being said, it’s always recommended to stick to popular formats like JPG, MP4, MPEG-4, etc.
Pix-Star’s mobile app (Pix-Star Snap) is supported on both iOS and Android, which lets you send photos, videos, and audio to the frame very easily. These photos can be taken inside the app, or through your camera and then sent from your phone’s gallery.
Supported photo formats include JPEG, JPG, BMP, PNG, and GIF. Supported audio formats include MP3 & WAV, and MP4 for videos. Make sure the media you load to your memory card match these required formats. - Insert the memory card into the Pix-Star
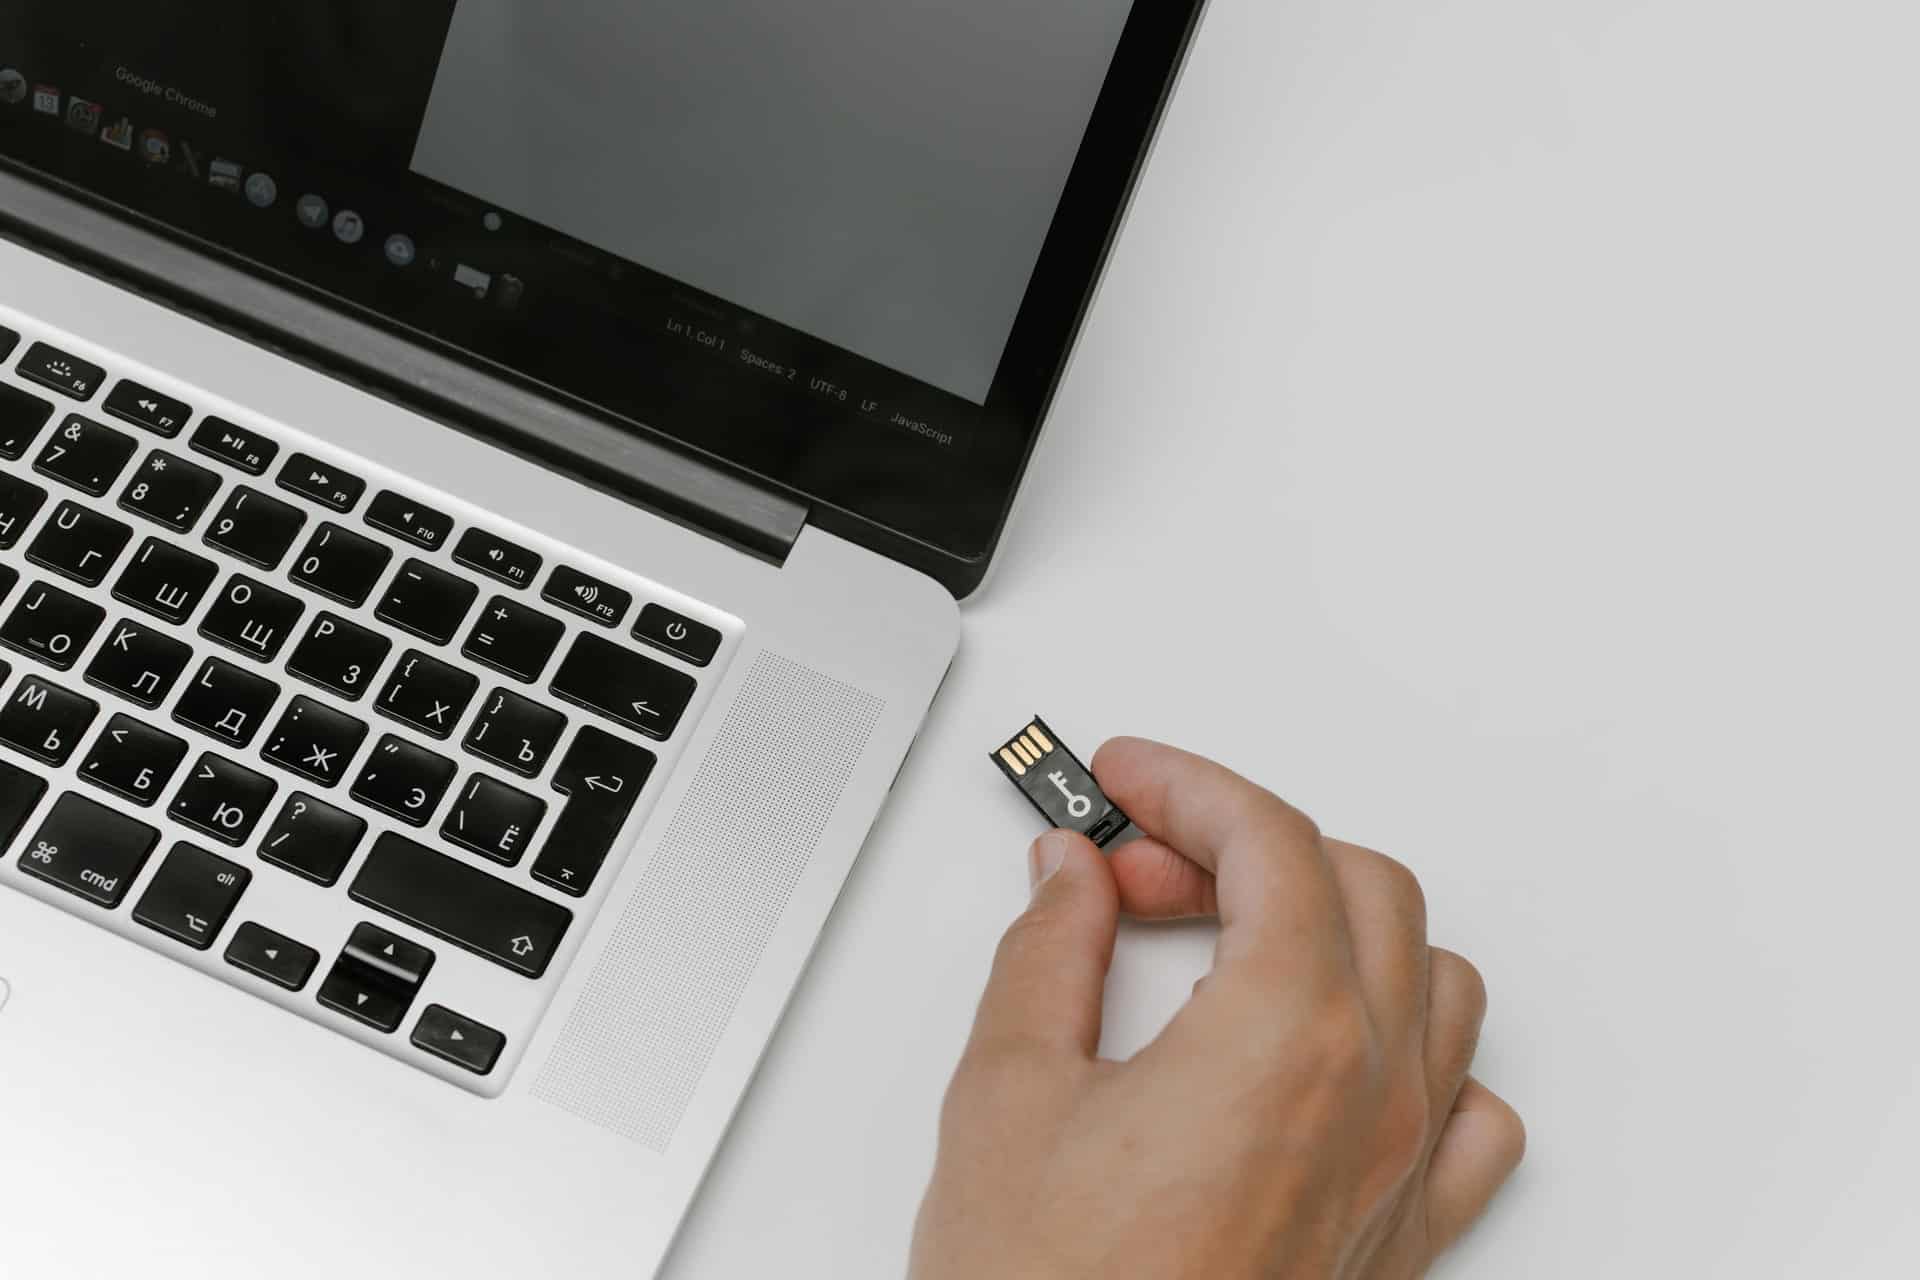
The Pix-Star frame’s SD card port is on the left side of the frame (when facing the display). Insert the SD card into this frame with the contact pins facing you. It might take a few moments for the frame to process and connect to the memory card depending on the number of files and storage amount used.
After a short while, a popup will show with the following options:
– Launch a slide-show of all the SD card pictures
– Open the SD card & browse files inside
– Copy the whole SD card device to internal memory
These are the option you have to choose from and lets you auto-play a slideshow containing all the photos and other media on the memory card. The other option lets you copy either specific folders and files to your frame’s storage, or copy the entire storage of the memory card to your frame’s storage – so long as there is enough available space.
If for whatever reason the popup didn’t show, make sure your memory card has been recognized by going to the home screen then “My pictures, videos & messages”. From the tabs listed horizontally at the top of the window, you should see one dedicated to an SD card or something similar like a USB/card/memory card, etc.
If there is nothing here, it means the card hasn’t been recognized. Remove it and make sure the contact pins (usually gold-colored) are clean and undamaged. Also, make sure the card is a supported type. Try turning off your Pix-Star frame then remove the power cable. Plug it in again and let the frame restart (without the SD card inserted during the restart process). - View a slideshow directly from the memory cared
After inserting the memory card, wait for the popup window with the options explained in the previous step. When it shows up, to auto-play a slideshow directly from the memory card, select the “Launch a slide-show of all the memory card/SD card pictures” option and press “ok”.
This will immediately start a slideshow where you can browse through the photos. It’s essentially the same as a normal slideshow and you can still adjust the settings using the popup menu by pressing the menu button on the remote control or onboard frame controls. - Copy the memory card’s files to internal storage
If you don’t want to view the photos from the memory in a slideshow right away, you can choose to copy the photo and other media to the Pix-Star frame’s internal storage. This is a great option if you don’t want to leave the SD card inserted all the time – which is what you’d need to do if you don’t copy its files to local storage.
Make sure your frame has enough available space and that you only copy files that fit within this space. The easiest way to copy all the files is to choose the “Copy the whole SD card device to internal memory” from the popup that shows after inserting the SD card.
This can take quite a while to copy depending on the size of the files to be transferred. You can see a red progress bar at the bottom of the display to gauge how much time this copying process will take.
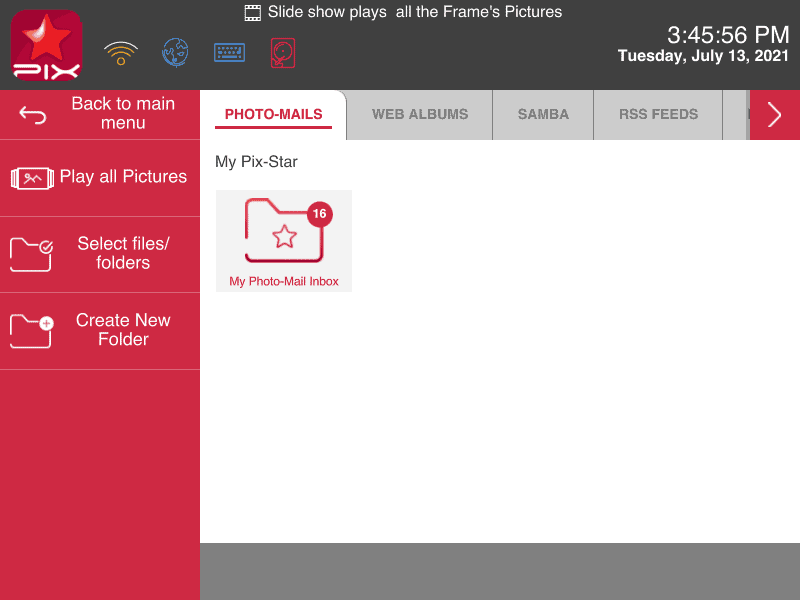
To copy specific files from the SD card to internal storage, select the second option “Open the SD card & browse files inside”. This will return you to your previous screen. Navigate back to the home screen and click on “My pictures, videos & messages”. Scroll across to the “Memory card/SD card” tab (next to the web albums tab).
Inside here you can view all the folders and files on the SD card. To copy select files across, choose the “Select files/folders” options from the panel on the left. Choose all the folders and files you want to copy and click on “Copy selection to…” from the left panel. Choose the directory to copy the selection to. Alternatively, you can create a new folder/directory to copy all these folders and files. Press “ok” to start the transfer.
Once it’s complete, you can start a slideshow from the copied folders and files, or include them into slideshows with photos from other sources without needing to have the SD card inserted.