
Time needed: 5 minutes.
In this guide, we’re going to show you how to transfer pictures from a computer to a digital picture frame in just 5 steps. We’re looking specifically at Pix-star’s digital photo frames, and the exact steps might be different from other frames that let you send photos directly from a computer. Let’s get started!
- Register your new digital picture frame
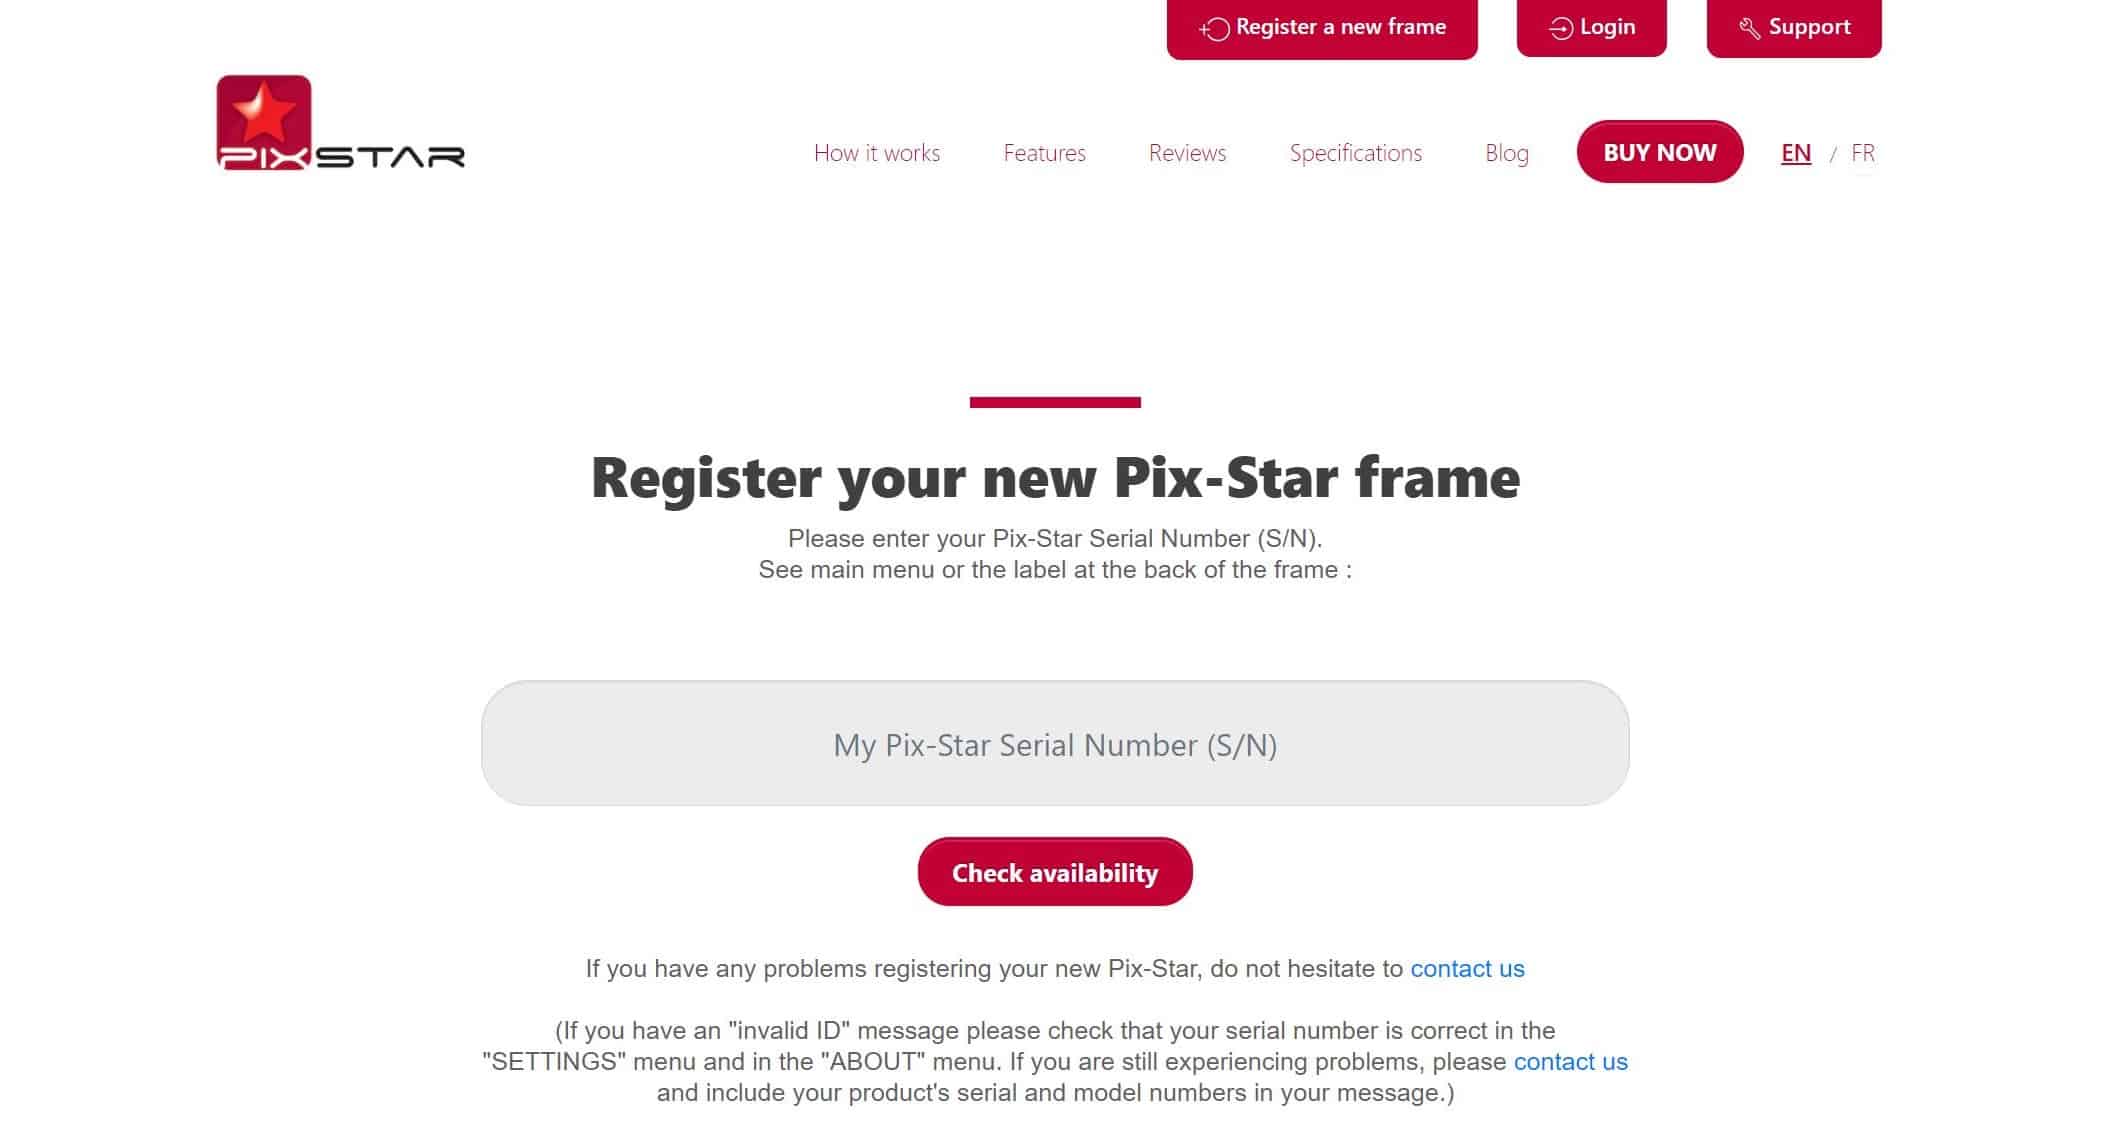

The first step in learning how to transfer pictures from a computer to a digital picture frame is registration. Setting up your Pix-Star frame is quick & easy to do. this is quick and easy to do. Simply head over to pix-star.com and click on “Register a new frame” at the top of the screen. You’ll then be prompted for your frame’s serial number. This can be found on your frame in Settings > About.
Once you’ve input the frame’s serial number and followed the remaining registration steps, you’ll be redirected back to the main page on which you landed. If you have any issues during the registration process, make sure your Pix-Star frame is online and connected to Wi-Fi. If issues persist, restart the frame by removing it from power and plugging it back in. - Login into your frame’s web dashboard

Once your Pix-Star frame has been registered, you’re ready to login into its web dashboard. Click on the “Login” button at the top of the display. Input your frame’s login information (these were created during the initial setup process) and proceed. You will then be taken to your frame’s web dashboard. If you chose to log into your multi-frame control account (if you bought more than one Pix-Star frame), you’ll be directed to the web dashboard for all your Pix-Star frames.
Take a couple of minutes to get familiar with the layout, features, and functions that the web dashboard support. Pix-Star’s web dashboard lets you remotely control your frame, import photos from social media, photo-sharing, and online storage platforms. You can manage cloud storage, start slideshows, etc. Most pertinently though, it’s where you can import photos directly from your computer to your Pix-Star frame wirelessly. - Import photos from your computer wirelessly
In the left-hand panel, locate the “Web Albums” sub-heading. Here you can manage your web albums, import new albums from social media & photo-sharing sites, update existing albums, and more. You can also create a new folder to which photos directly from your computer will be imported.
Click on “Import external pictures” and you’ll be taken to the web album main interface. Scroll down to the section that says “or create a new Pix-Star album and connect it to your frame instantly:” and click on “Create a new album”. Give your new album a name (make sure your Pix-Star frame is online and connected to Wi-Fi) and click “Create Album”.
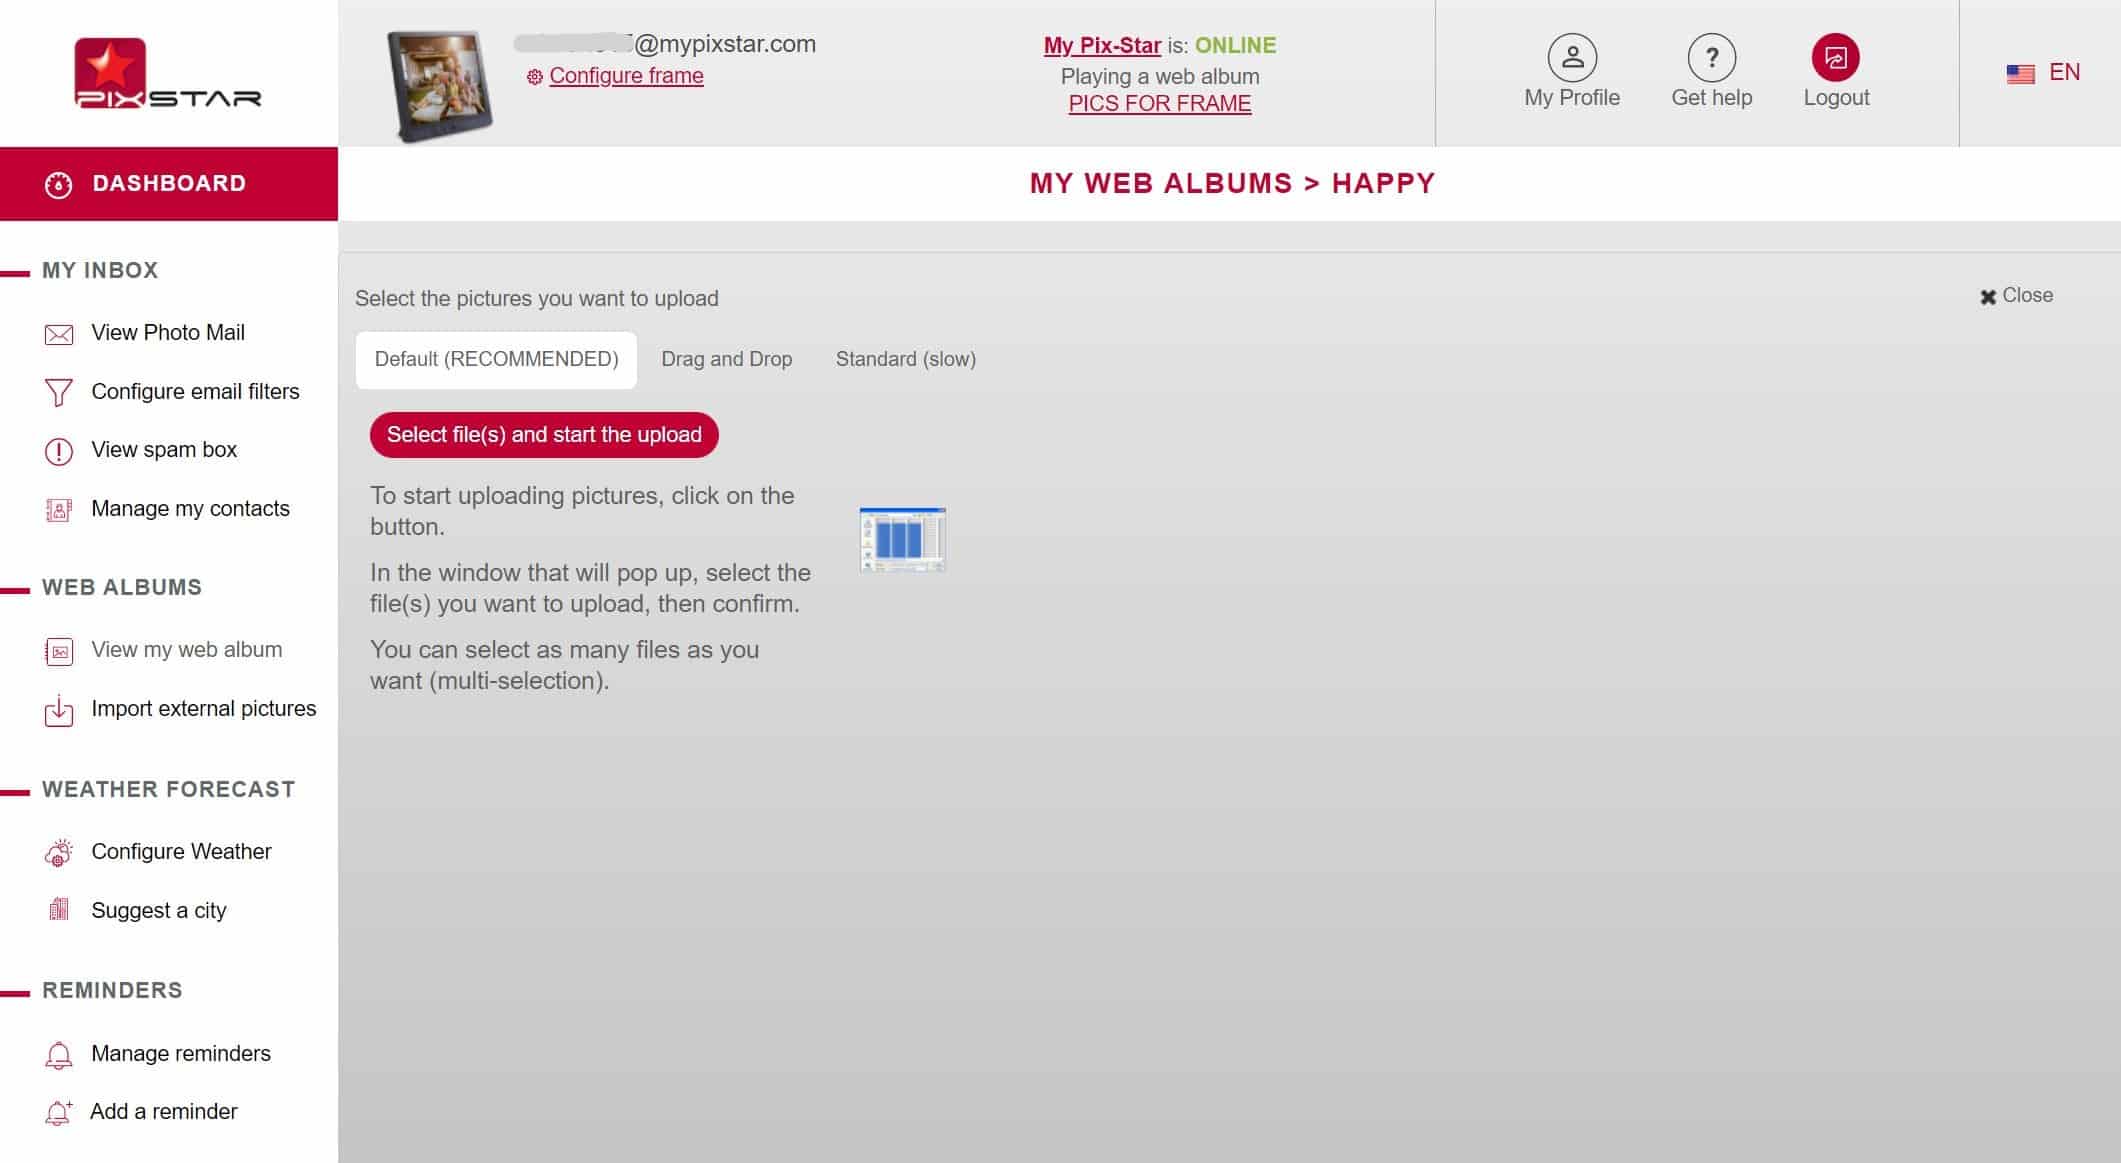
On the next screen, click on “Select file(s) and start the upload”. A file explorer window will open. Browse your computer to select the photo albums and pictures to add to your newly created album and click “Open”. It’s better if you put all the desired folders and files into a single location beforehand.
All the selected photos will then be synced to your frame. Here you can even choose to play the current selection in a slideshow on your Pix-Star frame by clicking on “Play selection on frame” from the row of options under the title. Note that all web albums are saved to your Pix-Star frames internal storage and are accessible offline. Synced photos are marked with a green dot; whereas pending photos are marked with a red dot. - Copy photos from your computer to a USB/SD card
Another option that doesn’t require internet access is to use a USB/SD card. Insert a supported USB/SD card into your computer and drag & drop all the photos, videos, and audio files you want to view on your Pix-Star frame. Try to match the photo resolution with the frame’s native resolution and aspect ratio. Videos & audio files should also be in supported formats (common formats are supported by Pix-Star).
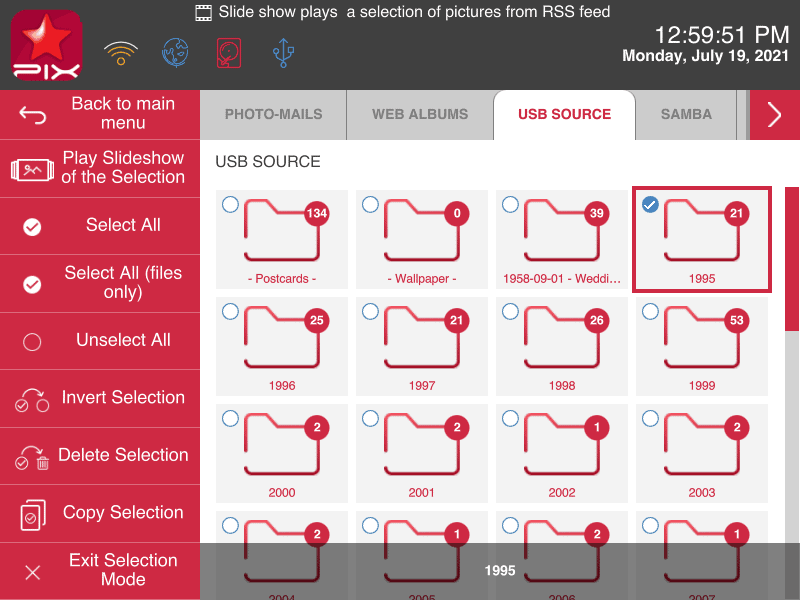
Take that USB/SD card and insert it into your Pix-Star digital picture frame. Give it a few short moments to read & register the drive. A popup will show on your Pix-Star frame’s display with 3 options. The first option is “Launch a slideshow of all the USB pictures”. This starts a slideshow with every picture saved on the USB/SD card without needing to copy any of them to the frame’s internal storage.
The second option is “Open the USB & browse files inside”. Here you can select which files and folders to copy to your frame’s storage. This is probably a better option if you have a large number of photos or a mixture of copied and uncopied pictures.
The final option is “Copy the whole USB device to internal memory”. This copies everything on the frame including videos & audio files. You can then move the photos around on the frame, start slideshows from specific folders and files, etc. Make sure you have enough storage space for all of the photos, or the last to be copied might be cut off when space runs out.
Final Thoughts
Now you can start a slideshow with all of your new photos. Head over to your Pix-Star frame and enjoy reminiscing over your favorite moments & memories! Pix-Star’s frames offer versatile slideshows that can be easily customized and personalized. They can even be started remotely from anywhere in the world – helping you stay more connected and sharing effortlessly with the people you care about most!